Git for Beginners: Basics and Essential Commands

What is Git?
Git is a tool that helps you keep track of changes in your code over time.
That’s the formal definition.
The practical one is much simpler.
Git remembers your code so you don’t have to.
Every time you reach a point where things work (or at least mostly work), Git allows you to save that state. Later, if you break something — and you will — you can always go back to a previous version that made sense.
The important part is that Git is a distributed version control system. This means every developer has a full copy of the project along with its entire history on their own machine. You don’t need an internet connection just to track changes. Git works locally, fast, and quietly in the background.
Why use Git?
Let’s say you’re building a new feature for your project — the same project that will probably join the abandoned-project graveyard soon.
You add some code, tweak a few things, and suddenly the app doesn’t work anymore. You try undoing changes, but its just useless.
With Git, you don’t just write code — you record your progress. Each time you make a meaningful change, you save it as a commit. If something breaks, you don’t panic. You just go back to a version that worked and move forward again.
Git doesn’t prevent mistakes. It makes mistakes recoverable.
Some Git Terminologies
Before jumping into commands, it helps to understand how Git sees your project.
Git divides your work into three simple stages.
First, there’s the working directory. This is where you actually write code, edit files, and break things.
Then there’s the staging area. This is where you tell Git, “These are the changes I want to save next.”
Finally, there’s the repository, where Git permanently stores your commits. Each commit is a snapshot of your project at a specific point in time.
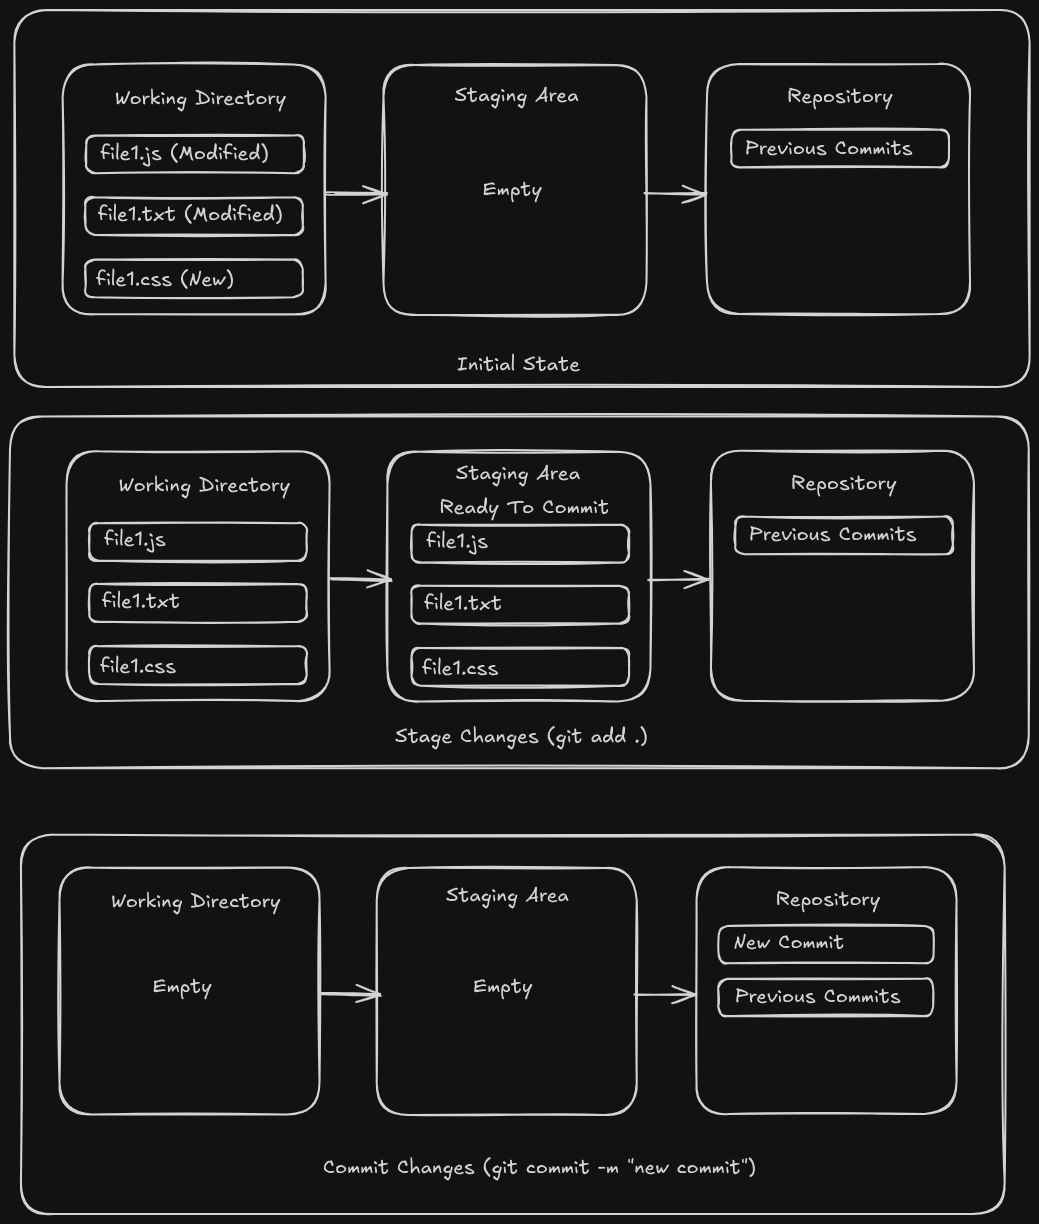
A repository (or repo) is simply a project that Git is tracking. Once a folder becomes a repository, Git starts watching what changes inside it.
A commit is a saved snapshot of your code. It’s like hitting “save” with a message explaining what you did and why.
A branch is a parallel line of development. It lets you work on new ideas without touching stable code. You can always merge things back later.
HEAD points to the current commit you’re working on.
That’s it. You don’t need to memorize more to get started.
Git Commands You’ll Actually Use
Let’s walk through a simple, realistic workflow.
git init: This turns the folder into a Git repository.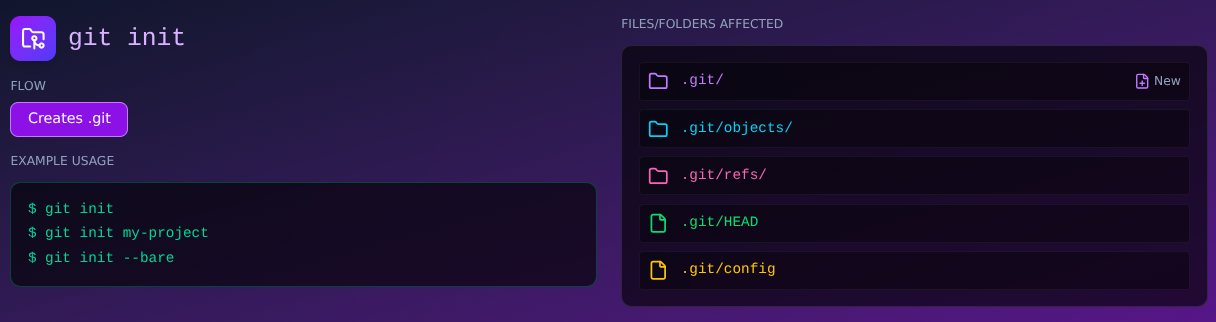
You start editing files. Git notices the changes but doesn’t save anything yet. To check what’s going on, you run :
git status: Displays the current state of the working directory and staging area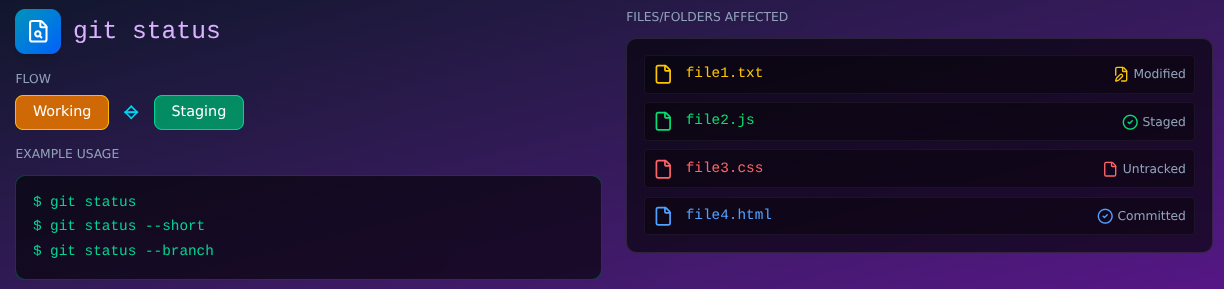
Once you’re happy with the changes you made, you tell Git to prepare them for saving.
git add: Moves changes from your working directory to the staging area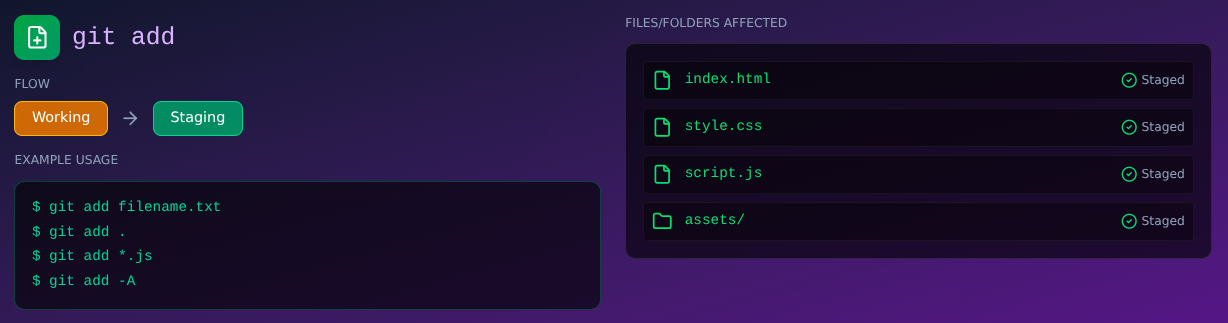
Now you lock those changes into history.
git commit: Saves a snapshot of your project's staged changes to the local repository's history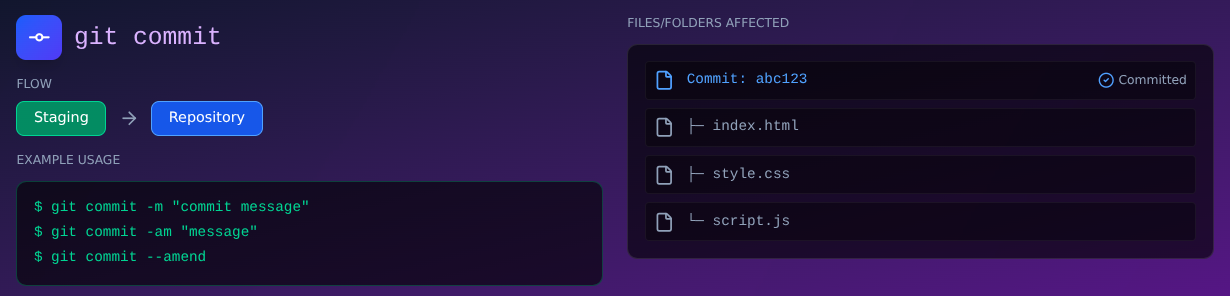
At any point, you can look back at what you’ve done.
git log: Displays the history of commits for a Git repository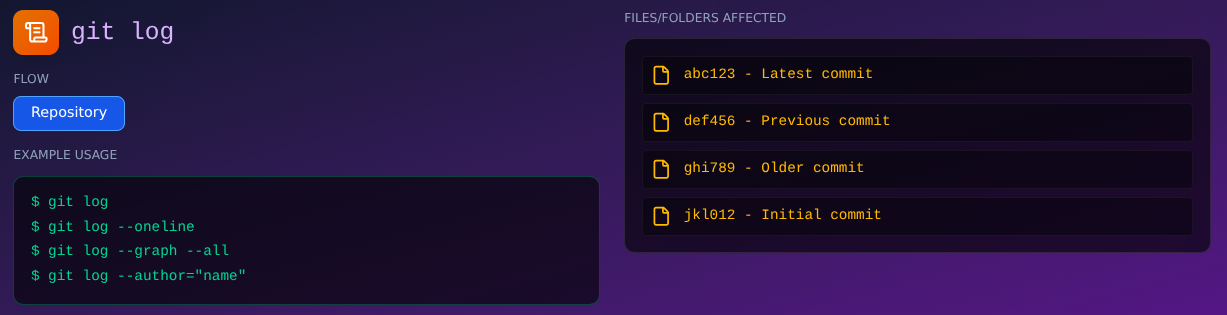
To undo any commits, we can use
git revertorgit reset.git revert: Creates a new commit that applies the inverse of the changes from the commit you want to undo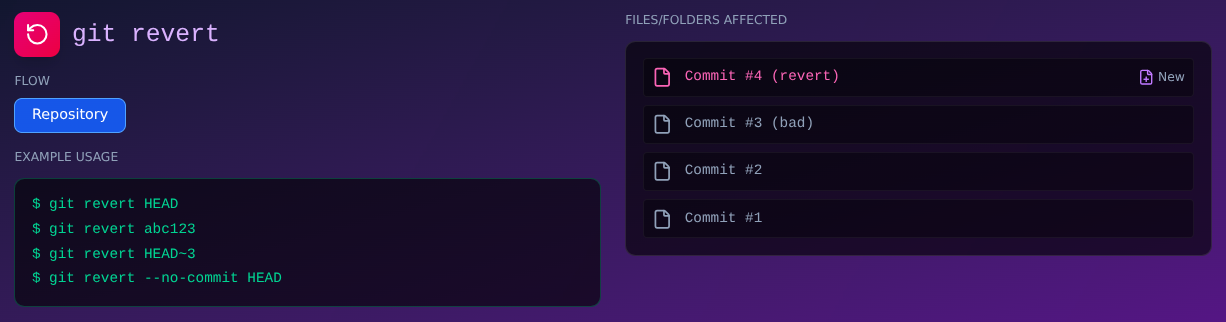
If we don’t want an extra commit, then:
git reset: Moves the branch pointer back to a previous commit, effectively removing the unwanted commit from the history.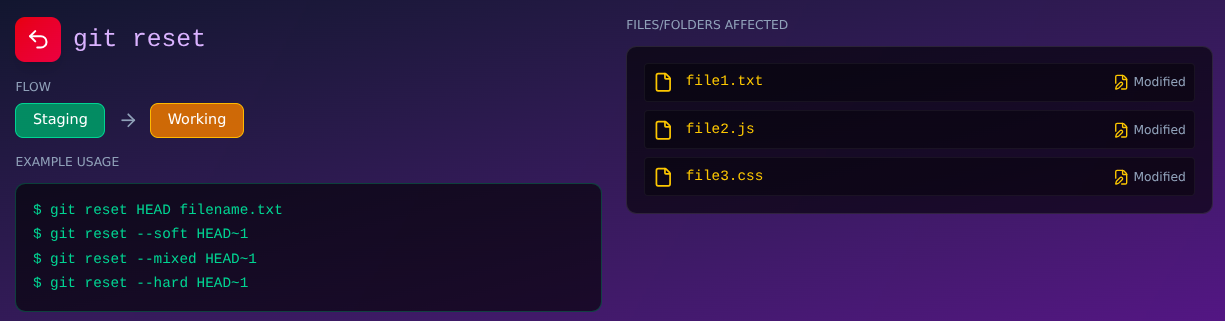
This simple cycle — edit, stage, commit — is the core of Git. Everything else builds on top of it.
Summary
Commits are snapshots of your code
Before you can commit your changes, you stage them.
Staging files means telling Git which files to include in the next commit
git addfollowed by the files’ names or a dot.if you want to stage all modified filesgit statusto see all the modified filesgit commit -m "Commit message"to make a commit with the name “Commit message”

